

Using the Network Repair Tool
The Network Repair Tool is the best place to start, it will suggest troubleshooters with recommend actions if problems are detected.
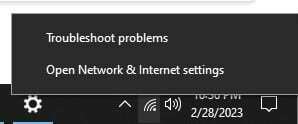
Right-click the Wi-Fi icon (bottom right) and select Open Network & Internet settings.
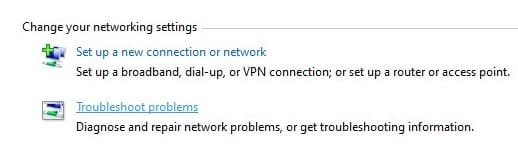
If your version of Windows doesn’t display the Network and Sharing Center here, you can find it in the Control Panel settings, Control Panel > Network and Internet > Network and Sharing Center.
Select Network and Sharing Center

Select Troubleshoot problems.
If there are any detected problems, there will be appropriate troubleshooters recommended.

If that resolved the problem, great! Reboot your system and check everything is still ok. If you’re still having a problem, continue on to the next step.
Obtaining IP Automatically and Manually Selecting your DNS
Your system should already be setup to obtain an IP automatically, but it’s worth checking regardless. Changing your DNS (Domain Name Service) can also resolve many issues. Here we are going to use the Google DNS service, which is very reliable.
Right-click the Wi-Fi icon (bottom right) and select Open Network & Internet settings.
If your version of Windows doesn’t display the Network and Sharing Center here, you can find it in the Control Panel settings, Control Panel > Network and Internet > Network and Sharing Center.
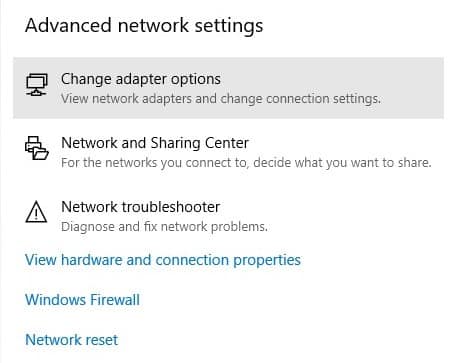
Select Change Adapter options.
Right-click your Wi-Fi adapter and select properties.
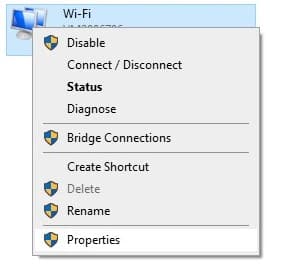
Highlight Internet Protocol Version 4(TCP/IPv4) by clicking it, and then select properties.
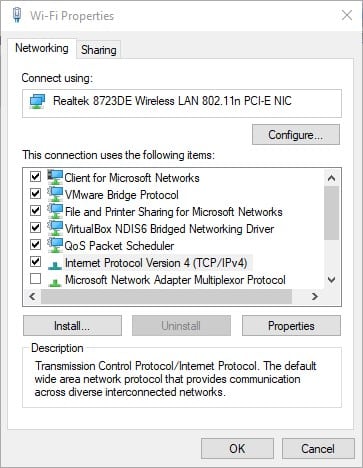
Make sure the Obtain an IP address automatically box is checked.
Now check the box Use the following DNS server addresses:
Then in the Preferred DNS server: add the following:
8.8.8.8In the Alternate DNS server: add the following:
8.8.1.1Just like in the image below.

Select OK and reboot your system. Test you network connection, if the problem persists, then continue to the next step.
How to Flush the DNS Cache
Flushing the DNS records will not cause any network connection issues, but it may help to fix them.
Click the Windows Start button (bottom left) and type cmd in the search bar, now choose Run as administrator. If your account doesn’t have administrator level privileges you must log in with the account that does, the rest of these steps will all require administrator level access.

To some the Command Prompt window can seem an intimidating place when used to Windows, but don’t panic, if you enter the commands incorrectly you will just see an error message and no harm can be done.
With the Command Prompt open enter the following command:
ipconfig /flushdnsThis will flush all DNS records. The DNS cache may have out of date records, or may even have become corrupted, this is easily resolved by flushing the DNS cache.
Now try to connect to the online service you were having trouble with. Take note after flushing the DNS, web pages or services may be slow to load the first time you access them as your system is performing a full DNS lookup, which can add a delay to the loading of any content. Flushing the DNS will not speed up your connection, but it can make sites and services load faster.
Once the process is complete, test you network connection, if the problem persists, then continue to the next step.


