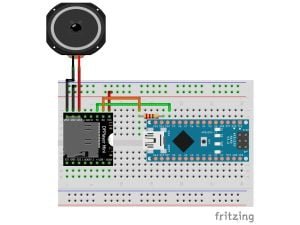
MP3 Player: Building an MP3 Player with Arduino
Related Articles

Python Sets: A Guide to Efficient Data Handling
Mastering Python Sets: A Guide to Efficient Data Handling Welcome to the world of Python! Efficient data handling is a…
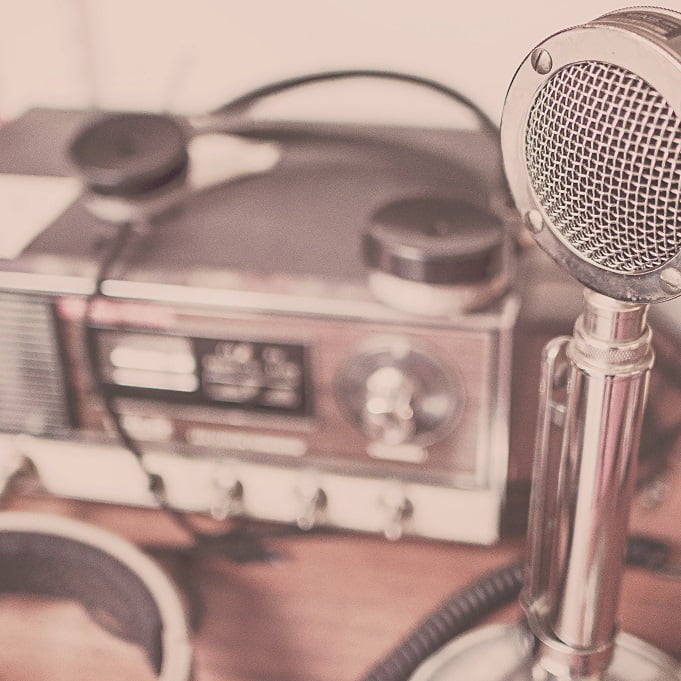
UK Amateur Radio Frequency Bands
In the UK, amateur radio enthusiasts, often referred to as “radio amateurs” or “hams,” are allocated specific frequency bands for…
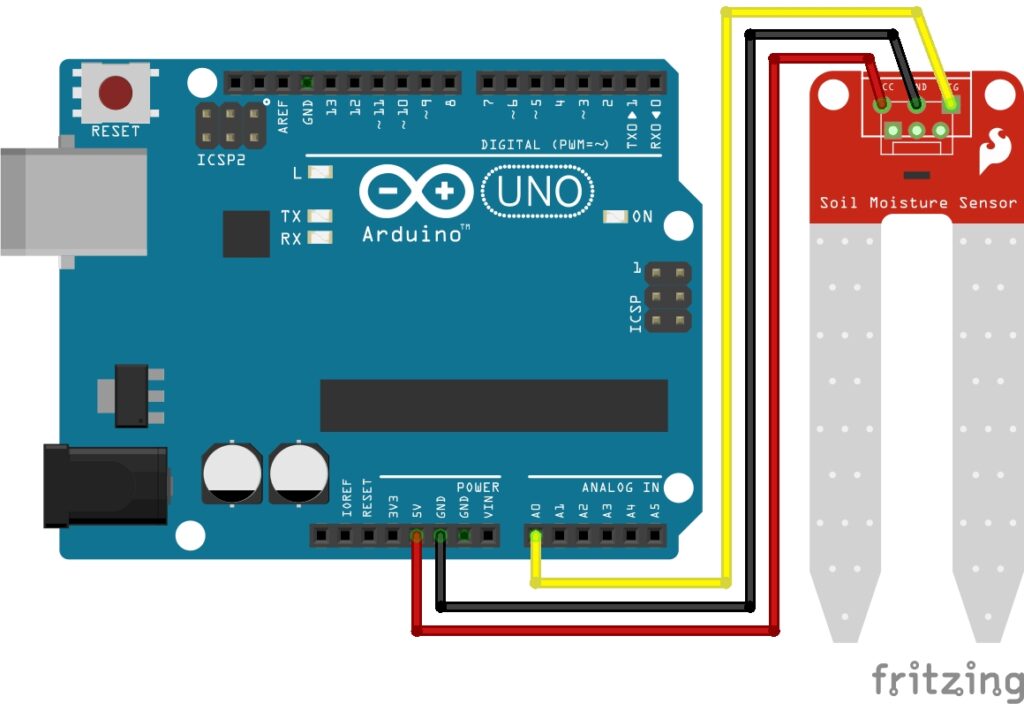
Soil Moisture Sensor with Arduino
Welcome to the World of Sensors and Modules with Arduino! The moisture sensor, also known as a soil moisture sensor,…