Hello, fellow tech enthusiasts! I'm Luke, a passionate learner and explorer in the vast realms of technology. Welcome to my digital space where I share the insights and adventures gained from my journey into the fascinating worlds of Arduino, Python, Linux, Ethical Hacking, and beyond.
Armed with qualifications including CompTIA A+, Sec+, Cisco CCNA, Unix/Linux and Bash Shell Scripting, JavaScript Application Programming, Python Programming and Ethical Hacking, I thrive in the ever-evolving landscape of coding, computers, and networks.
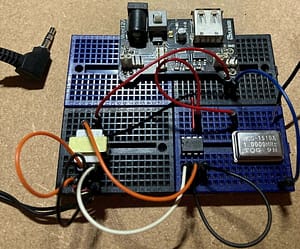
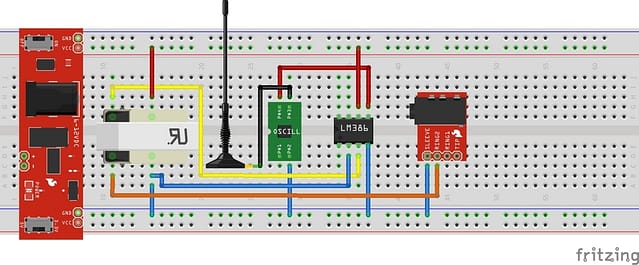
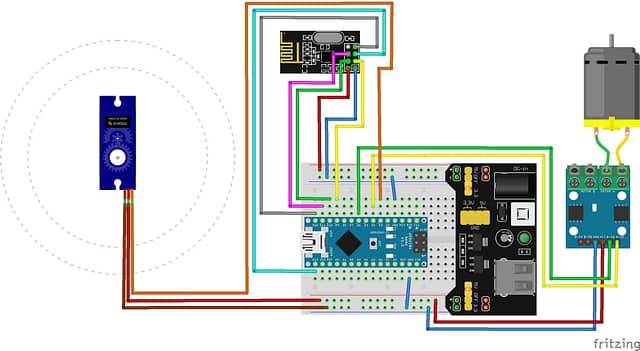
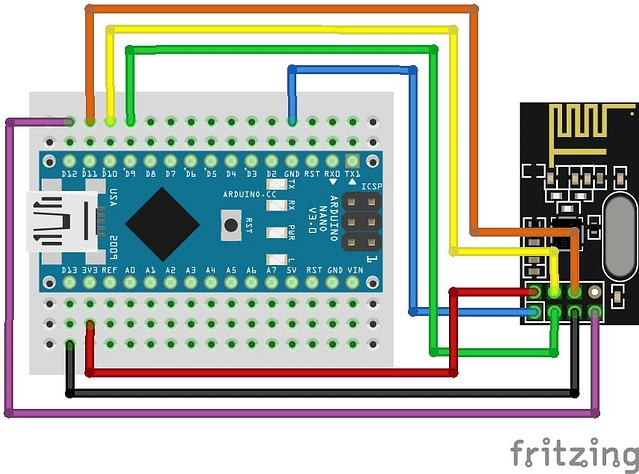
As a tech enthusiast, I'm on a mission to simplify the complexities of technology through my blogs, offering a glimpse into the marvels of Arduino, Python, Linux, and Ethical Hacking techniques.
Whether you're a fellow coder or a curious mind, I invite you to join me on this journey of continuous learning and discovery.