


My Arduino UNO R4 has Arrived
I have just received my first Arduino UNO R4 Wi-Fi board, and I can’t wait to get started working with it. I love getting new Arduino or Raspberry Pi boards, but this Arduino UNO is special, it’s the first to have Wi-Fi connectivity which will open the UNO up to a whole range of new Arduino projects.
Unboxing

So far so good, everything seems to be working just fine, and it even came with a cute little animation welcome. We love you to Arduino!
Preparation
Before we can use the new Arduino UNO R4 Wi-Fi board, we need to install the Arduino Uno R4 board package, which is part of the Arduino R4 core.
For this guide I will be using the Arduino IDE.v2. All of my previous Arduino guides have been completed with the original IDE, but I figured new board, new start, time to move on.
Software & Hardware Needed for this guide:
Installing the IDE
If you don’t already have the Arduino IDE v2 software, you can download it from the Arduino software page here: Arduino Software
- Install the Arduino IDE.v2 software.
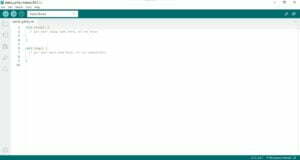
- Open the Arduino IDE.
Installing the Arduino UNO R4 Package
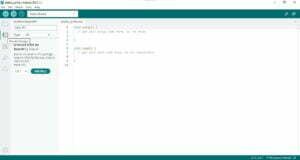
To install the boards package open Boards Manager from the left side menu and search for UNO R4, click on INSTALL to install the latest version of the package.
Once the install has completed you should be able to select the Arduino UNO R4 Wi-Fi board from the board selector menu.
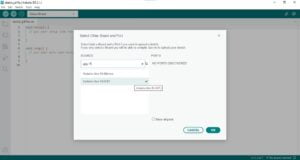
Before proceeding any further, now is a good time to connect your Arduino UNO R4 board to your computer with a suitable USB-c data cable. Once connected you should be able to select the port its connected through. Now you can click on OK.
That’s it, your board is now installed and ready to use.
Compiling and Uploading Sketches
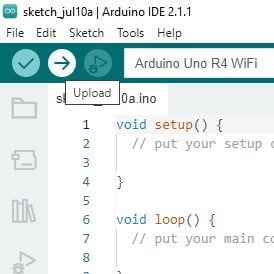
To Compile and verify your code you can use the Check Mark button:
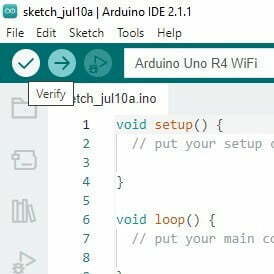
To upload your code, you can use the Right Arrow button:
Hello World!
As always, it’s good to test everything works. To do so I’ll run the basic “Hello World” print statement.
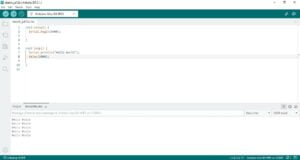
As you can see from the image above, the code uploaded just fine and is now looping the “Hello World” print statement to the serial monitor.
Conclusion
I always love receiving new hardware, especially Arduino products. This new Wi-Fi board will open up the path to so many new projects ideas in the future. Stay tuned and see what I do with the UNO R4.
That’s All Folks!
You can find all of our Arduino guides here: Arduino Guides
Seize the Spark and Elevate Your Creations with Our Exclusive Arduino Collection here: Arduino Products

