


A Guide to Installing Ubuntu on Windows
Ubuntu is a popular open-source operating system based on the Linux kernel. It is known for its user-friendly interface and widespread use in both desktop and server environments. In this guide we will take you step-by-step with the installation process for VirtualBox on Windows.
What is VirtualBox?
Oracle VM VirtualBox, commonly referred to as VirtualBox, is a powerful and free, open-source virtualization software that can be installed on Windows and allows you to create and run multiple virtual machines (VMs) on a single physical computer.
This guide assumes you have VirtualBox already installed on your Windows system. If you do not already have VirtualBox, you can download it here: VirtualBox
Why Choose Ubuntu?
Ubuntu is a great Linux distro, especially for new Linux users. It’s look and feel is not too dissimilar to Windows making it an easy leap into Linux for beginners.
Here are some key points about Ubuntu:
Open Source: Ubuntu is open source, which means it is freely available for anyone to use, modify, and distribute. This open nature has contributed to its popularity.
Debian-based: Ubuntu is built on the Debian operating system and shares many of its characteristics, including the use of the Debian package management system (APT). This makes it easy to install and update software on Ubuntu.
User-Friendly: One of Ubuntu’s primary goals is to provide a user-friendly experience, making it accessible to a wide range of users, including those who may be new to Linux.
Regular Release Cycle: Ubuntu follows a predictable release schedule, with new versions coming out every six months. These releases are supported for a specific period, typically nine months for regular releases and five years for Long-Term Support (LTS) releases.
LTS Releases: LTS releases are considered more stable and are suitable for production environments. They receive long-term support and updates, which can be important for businesses and organizations.
Desktop and Server Editions: Ubuntu offers both desktop and server editions. The desktop edition is designed for personal and general use, while the server edition is tailored for server deployment, providing tools for managing servers and services.
Software Center: Ubuntu includes a Software Center, which makes it easy to find and install a wide range of software applications, including office suites, web browsers, multimedia software, and more.
Customizable: Users can customize their Ubuntu environment by choosing different desktop environments, themes, and software packages, allowing them to tailor the system to their preferences and needs.
Community and Commercial Support: Ubuntu has a large and active community of users and developers who provide support through forums, documentation, and other resources. Additionally, Canonical Ltd., the company behind Ubuntu, offers commercial support for enterprises.
Download Ubuntu
At the time of writing this post, the latest version of Ubuntu is Ubuntu 22.10, you can download it here:
The download make take a while its 3.6GiB. Once download completes you can proceed.
Creating a new Virtual Machine
Creating the Virtual Machine (VM) is a simple process, just follow these steps:
- Open VirtualBox and Select New, to begin creating a new VM.

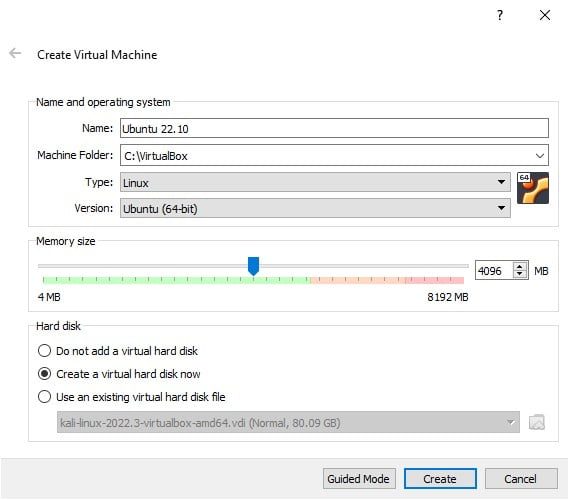
Name and operating system
- Name it as Ubuntu 22.10. Naming it this way automatically selects the correct type and version.
- Machine folder should be wherever you store your Virtual machines, if this is your first Virtual machine, then choose a memorable location.
Memory Size
- Set the memory size how you want, just make sure it’s above 1024 and in the green.
Hard disk
- Make sure the Hard disk is set to Create a virtual hard disk now then click Create.
- Name the new VM Ubuntu 22.10, doing so will automatically select the correct type and version.
- The Machine Folder should be wherever you store your Virtual machines, if this is your first Virtual machine, then choose a memorable location.
- Set the Memory size how you want, just make sure it’s above 1024 and in the green.
- Make sure the Hard disk is set to Create a virtual hard disk now then click create.
If your Type and Version boxes were not automatically filled, select the same options as in the image below.
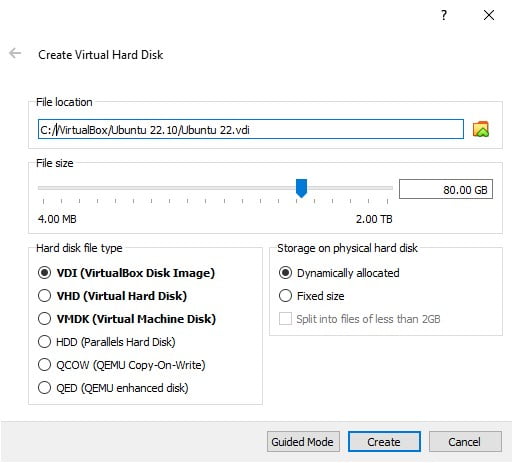
Create Virtual Hard Disk
File size
- The File size needs to be at least 25GiB. If you’re going to be doing work on your machine, then give it between 80-100GiB or more if you wish.
Hard disk file type
- Set Hard disk file type to: VDI (VirtualBox Disk Image)
Storage on physical hard disk
- Set Storage on physical hard disk to: Dynamically allocated. This way it won’t take storage space until it needs too.
Now click Create.
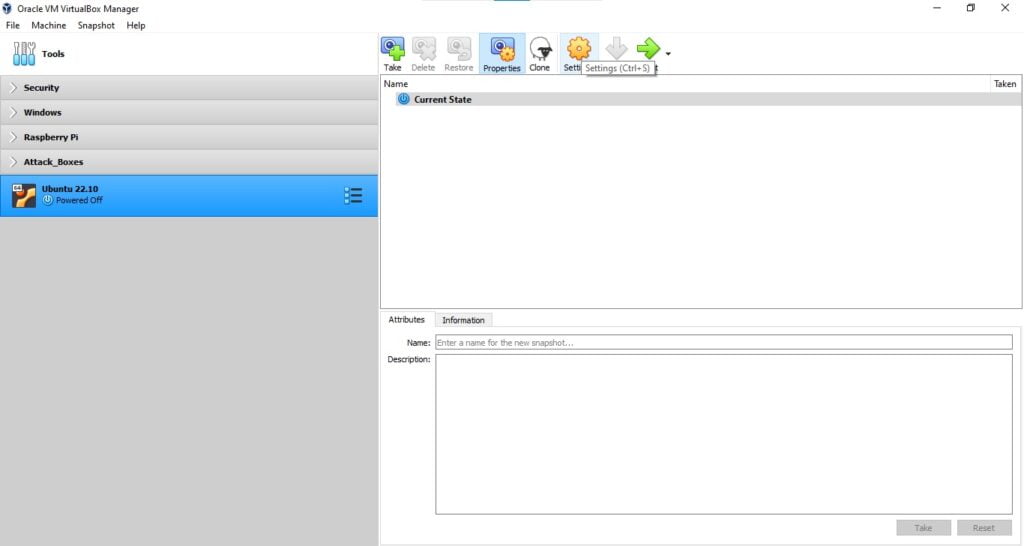
Preparing the new VM
- Make sure Ubuntu is highlighted on the left then click on the settings tab.
System Settings
Motherboard Settings
- Go to System Settings > Motherboard. Give base memory a minimum of 1024MB, your system may have plenty spare so give as much as you want but 4096MB is more than enough.

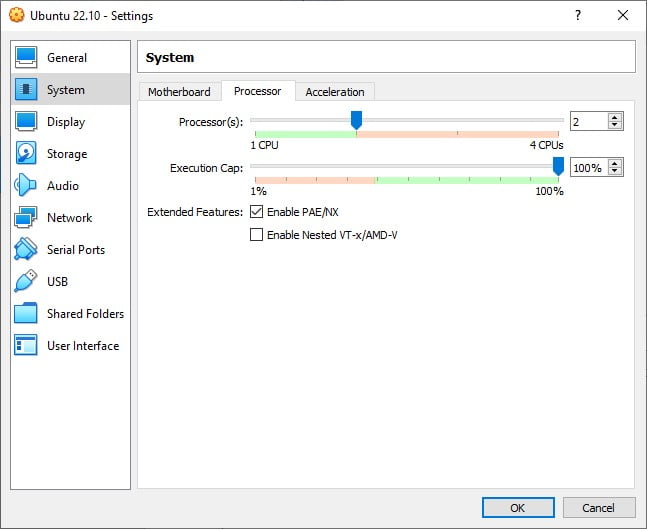
Processor Settings
- Go to System Settings > Processor.
Here you can select how many processors you want to dedicate to Linux Mint. Depending on your system give it a minimum of 2 or more.
In the Extended Features:
- Check the box for Enable PAE/NX.
PAE enables processors to access more than 4 GB of physical memory on capable versions of Windows and is a prerequisite for NX. NX allows the processor to help guard the PC from attacks by malicious software.
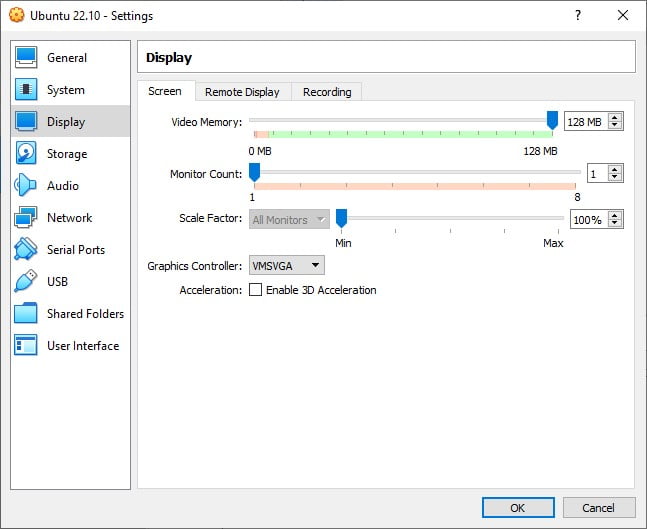
Display Settings
- Go to Display Settings > Screen.
- Set Video Memory to: 128MB.
- Set Graphics Controller to: VMSVGA.
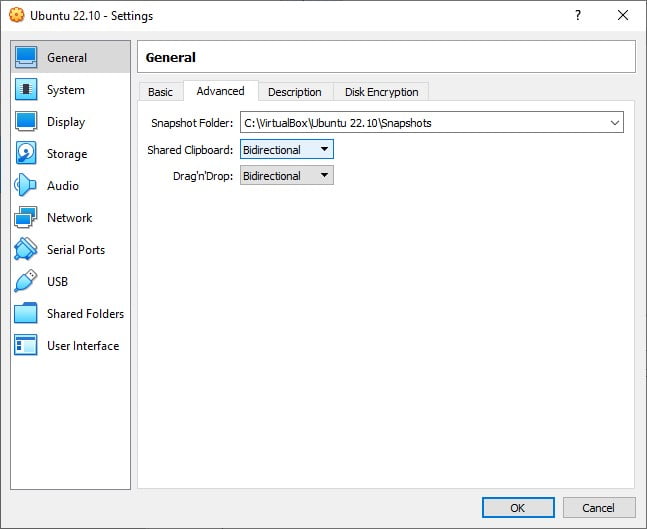
General Settings
This part is optional.
- Go to General > Advanced.
- Set Shared Clipboard to: Bidirectional.
- Set Drag’n’Drop to: Bidirectional.
Storage Settings
Finally, we need to point the Virtual Machine to where the installer is located.
- Go to Storage Settings and single click “Empty” below Controller: IDE to highlight it.
- Now to the right, click on the disc under Attributes, select choose disk file, this will open a browser for you to locate and select the Ubuntu 22.10 iso file you previously downloaded.
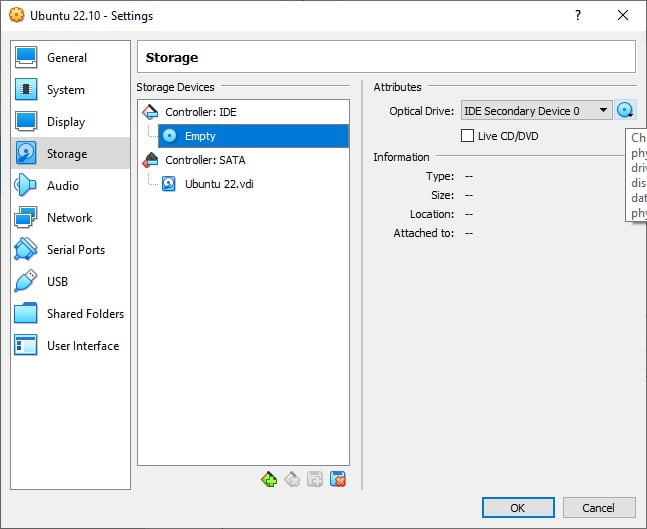
- With the Installer in place, click OK.

Ubuntu Installation
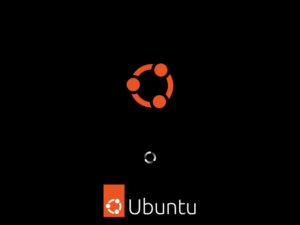
Now you can press Start, to start the Ubuntu Virtual Machine and begin the installation process.
- Select Try or Install Ubuntu.

The Process will start loading.
Ubuntu Installation Settings
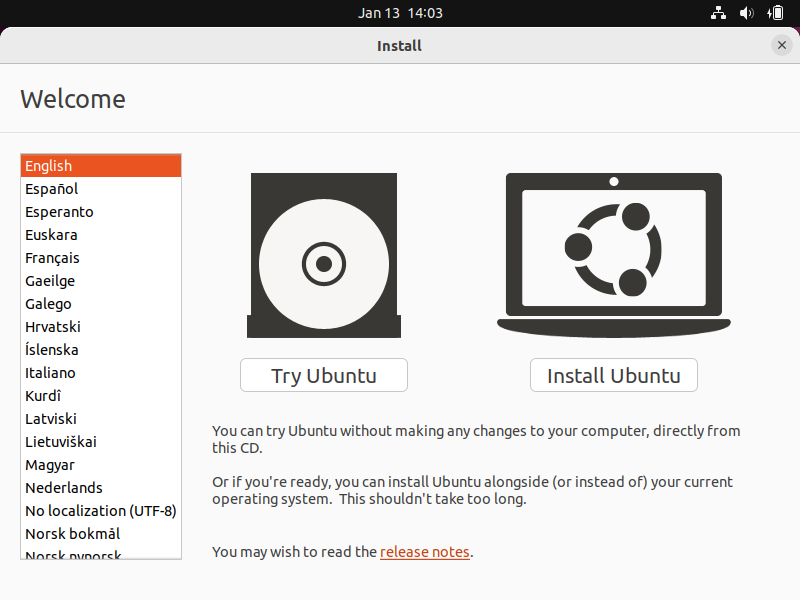
Language Settings
- Select your language and click Install Ubuntu.
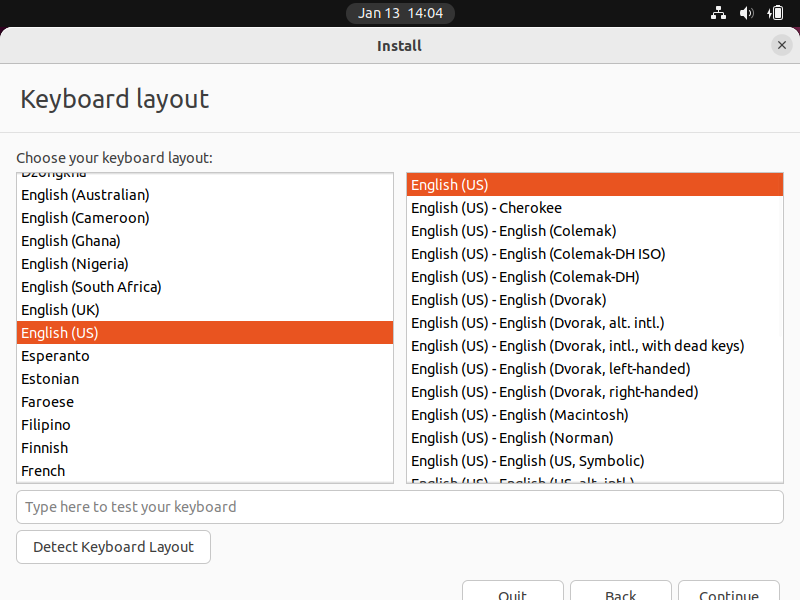
Keyboard Layout Settings
- Choose your keyboard layout.
If unsure which layout you have, you can select Detect Keyboard Layout. This will ask for some input, but it will find your keyboard layout for you. Then select Continue.
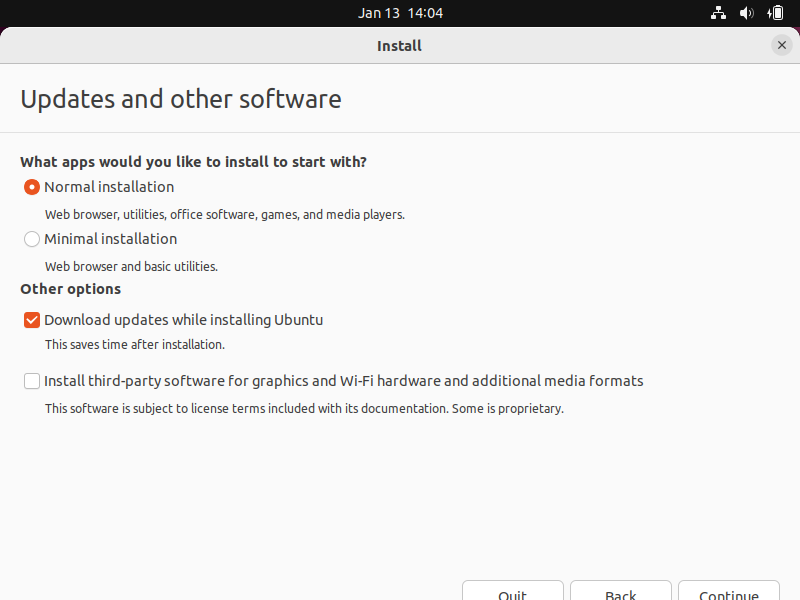
Updates and other software settings
- Select which type of install you want.
- Check the box to Download updates while installing Ubuntu.
If this is your first-time using Ubuntu, then keep the default settings here and select Continue.
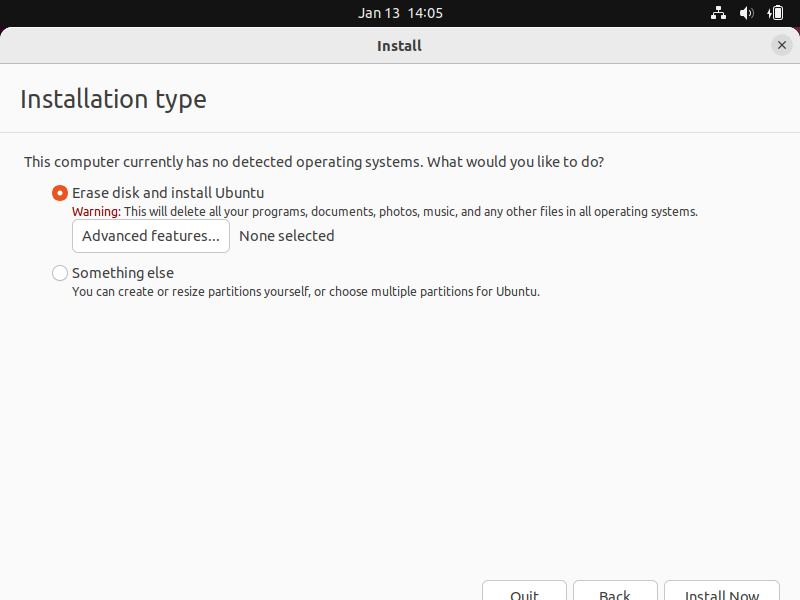
Installation Type
- Select Erase disk and install Ubuntu.
This will not affect your host system.
- Click Install Now.
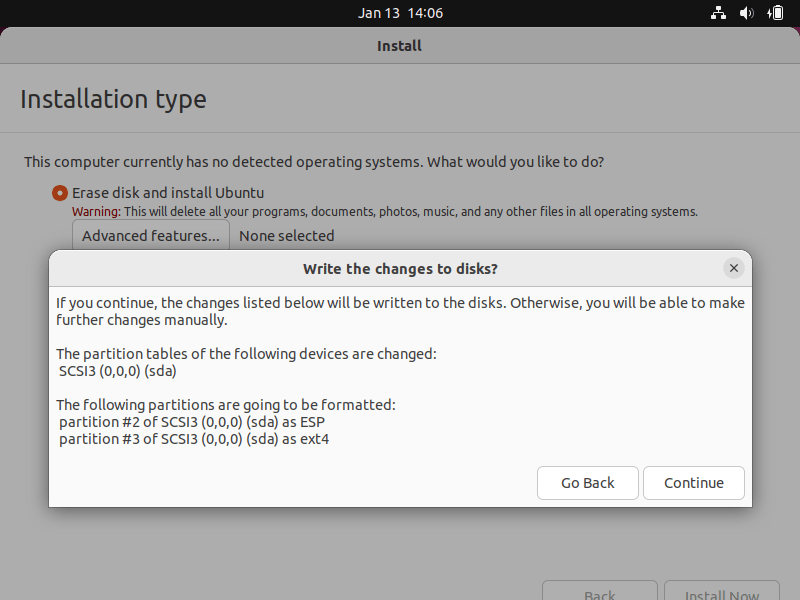
Select Continue to Write the changes to disks..
- Select your region.
Ubuntu should have preselected it for you, but if not then just click where on the map you are. Now select Continue.
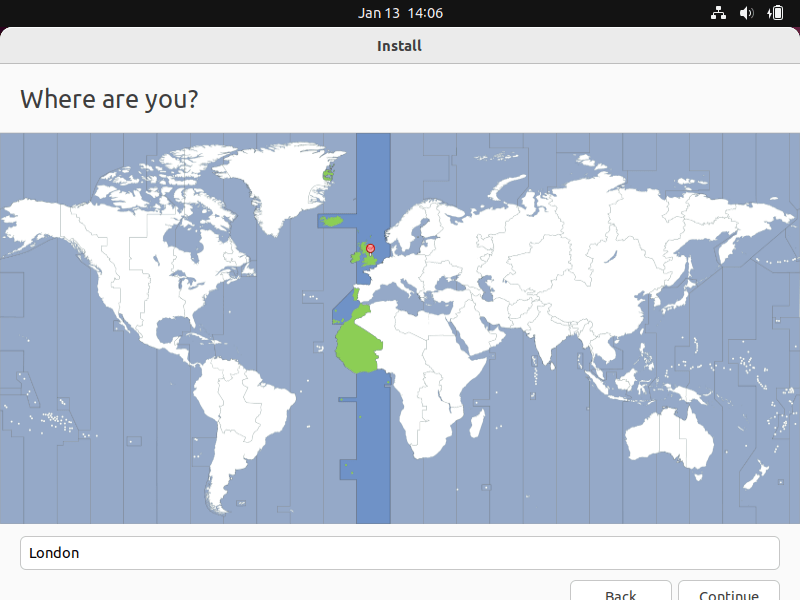
Regional Settings
- Select your region.
Ubuntu should have preselected it for you, but if not then just click where on the map you are.
- Now select Continue.
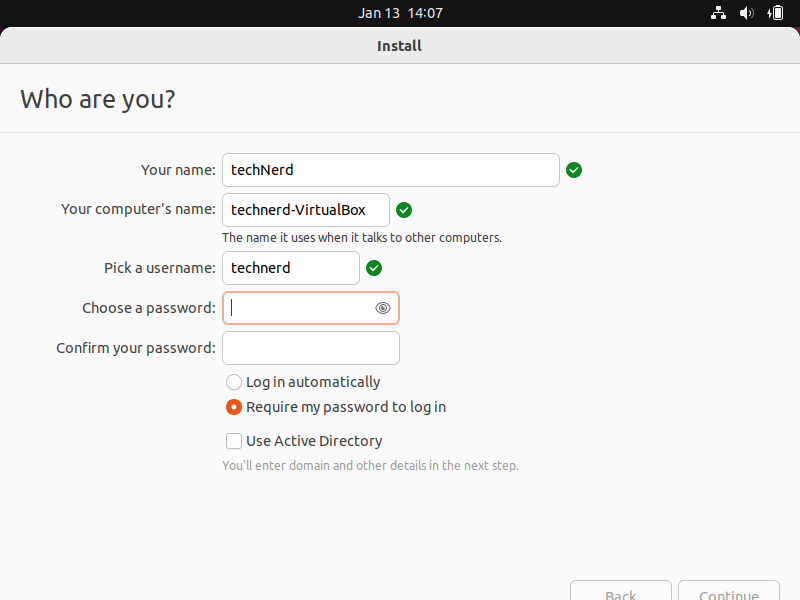
Personal Credentials
- Enter your name.
- Give your system a name.
- Choose a password.
- Choose whether you want automatic login.
- Choose if you require a password to log in.
Now select Continue.
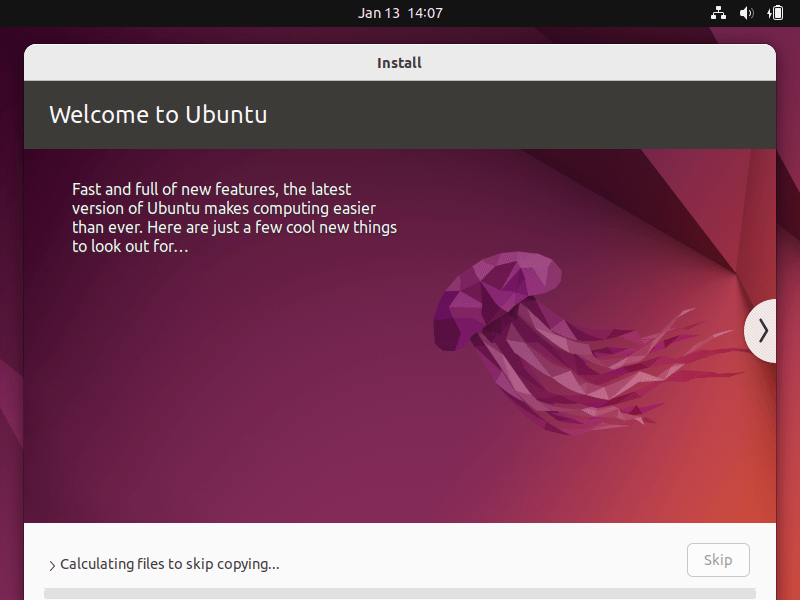
Ubuntu is now installing. Depending on your host system, this may take a while.
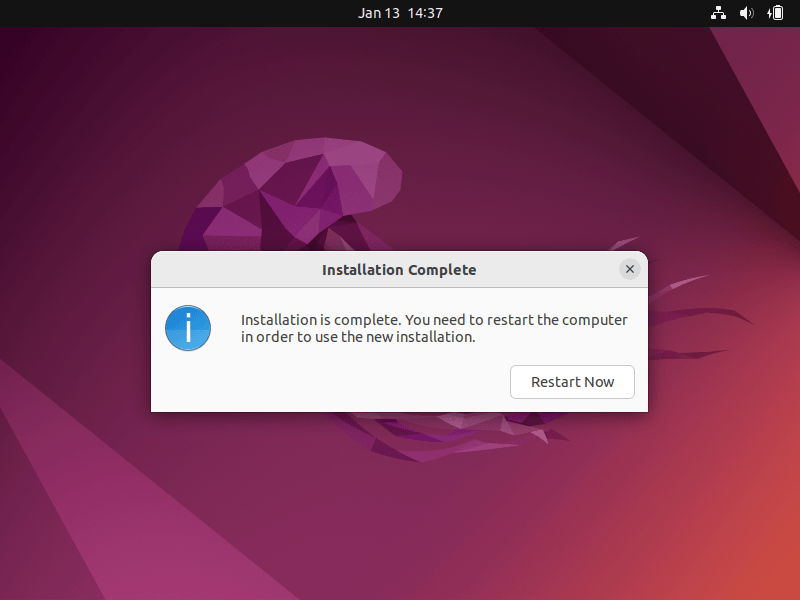
Once you see the “Installation Complete” pop-up, select Restart Now.
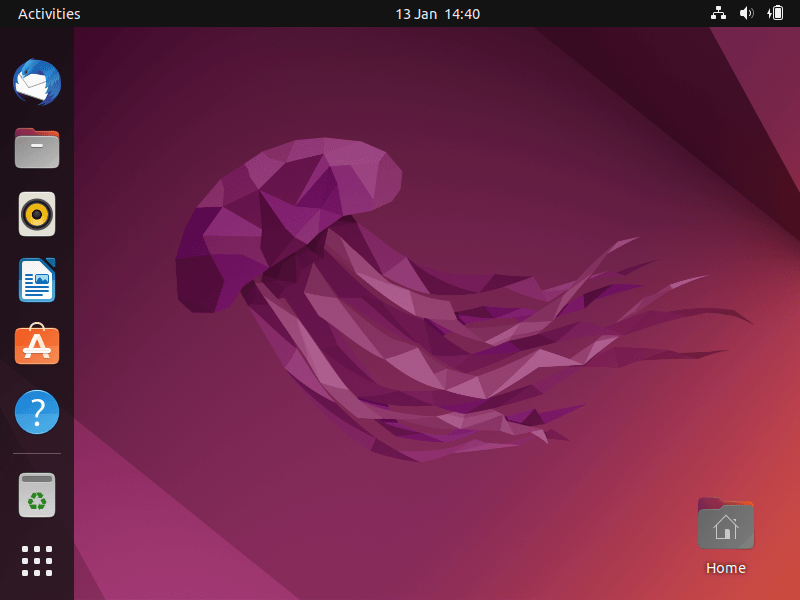
You should now have a fresh installation of Ubuntu.
Conclusion
Choosing to install Ubuntu, is a wise decision backed by its outstanding reputation and immense popularity. Ubuntu’s user-friendly interface, regular updates, and strong community support have made it a top choice for millions of users worldwide. Its versatility, whether for personal desktop computing or robust server deployment, ensures that you’re joining a global community of Linux enthusiasts who appreciate the power of open-source technology. With Ubuntu, you’re not only embracing a reliable and efficient operating system, but you’re also becoming part of a dynamic ecosystem that fosters innovation and collaboration.
If this is your first time using a Linux system, why not take a look at our library of Linux Guides to help you get started: Linux Guides
That’s All Folks!
