


Building Your own Port Scanner with Python
In this Blackhat Python guide we are going to learn about port scanners and how to build your own port scanner tool with Python. Scanning with a network mapper tool like Nmap is the best way to scan a system. This guide will help you better understand the basics of what network mappers are doing in the background.
What are Port Scanners?
Port scanners are cybersecurity tools or software applications designed to scan and analyze the open ports on a computer, server, or network device. Ports are numbered gateways through which data can pass into and out of a device over a network, and they are essential for communication between different devices on the internet. Port scanning plays a crucial role in network security and diagnostics.
For a more in-depth explanation of port scanners, you can read our ethical hacking guide about port scanners here: Port Scanners
Stage 1 – Basic Connection and Port Scan
This very basic code below scans 1 port and prints the result to terminal. Run the code to see the result, then change the port number and run it again. Its set to Port 80 at the moment, this port is usually accessible as its the http port to send and receive http data.
The Code:
import socket # The Socket Library Allows us to Make Connections

port=80 ## Enter Port to Scan
targetIP="192.168.0.1" ## Enter IP to Scan

sock=socket.socket(socket.AF_INET, socket.SOCK_STREAM) ## Create Socket for Connection

try:
    sock.connect((targetIP, port)) ## Try Start Socket Connection
    print(str(port),"is open".format(port))  ## If Port is Open
except OSError:
    print(str(port),"is closed".format(port)) ## If Port is Closed
finally:
    sock.close() ## Close Socket Connection
What the code does?
- First, we import the
Socket libraryso we can make a connection with another system. - We store the port number we want to scan in the variable
portwhich at the moment is port 80, this can be changed to any port number you wish to scan. - Then we have the IP address of the target system stored in the
targetIPvariable. - The
sockvariable is creating a socket for the connection to be established with. - The code uses the
try/exceptclause to try and start a connection. - If the connection is received it prints the port is open to terminal.
- If the connection fails, it prints the port is closed.
- Finally, it close’s the socket.
Stage 2 – Adding a Port Range for Scanning
Now we are going to add a port range so we can scan multiple ports, starting at port 1 and ending at port 100. We know the http port, port 80 will be opened, so we expect at least 1 open port to be reported along with many closed ports. Scanning 100 ports won’t take too long to test. There are 65535 ports in total and scanning them all with this code could take hours.
The Code:
import socket as socket

remoteServer='192.168.0.1'
targetIP=socket.gethostbyname(remoteServer)
startPort=1
endPort=100

try:
    for port in range(startPort,endPort):
        sock = socket.socket(socket.AF_INET, socket.SOCK_STREAM)
        result = sock.connect_ex((targetIP, port))
        if result == 0:
            print ("Port {}: Open".format(port))
        else:
            print ("Port {}: Closed".format(port))
        sock.close()
except:
    print('Error')
Stage 3 – User Input and Logging Results
Now, in this script we are going to request for the user to input the target IP. Then it will request the starting port number and the ending port number. It will begin the scan and print the results to the terminal but will also create a log file in the users C:/ directory, logging the results of the scan.
The Code:
import socket as socket
import struct
import os

try:
    os.mkdir('C:/PortScanner') # Make a directory for the Log file
except:
    pass

target_ip = input("Enter Target IP ") # Added User Input for IP

def ip2long(target_ip):
    packedIP = socket.inet_aton(target_ip)
    return struct.unpack("!L", packedIP)[0]


target_port = int(input("Enter Start Port "))  # Added User Input for Port Range start
port_end = int(input("Enter End Port "))   # Added User Input for Port Range end

accessMode='w'
fileName = "C:/PortScanner/PortScan_Log.txt" # Create the log file
file=open(fileName, accessMode) #  Open the log file for writing
file.write("-"*41)
file.write("\n")
file.write("Port Scan Log For Target IP: "+target_ip)
file.write("\n")
file.write("-"*41)
file.write("\n")
print("Starting Port Scan")

def scanner():
    sock = socket.socket(socket.AF_INET, socket.SOCK_STREAM)
    try:
        sock.connect((target_ip, target_port))
        print("[+] {}/tcp open".format(target_port))
        file.write("Port {}/TCP is Open".format(target_port))
        file.write('\n')
        sock.close()
    except OSError:
        print("[-] {}/tcp closed".format(target_port))
        file.write("Port {}/TCP is Closed".format(target_port))
        file.write('\n')
        sock.close()

while target_port <= port_end:
    scanner()
    target_port = target_port+1

print("")
print("Port Scan Complete")
file.close()

print("")
print("Connection To Host Closed")
print("")
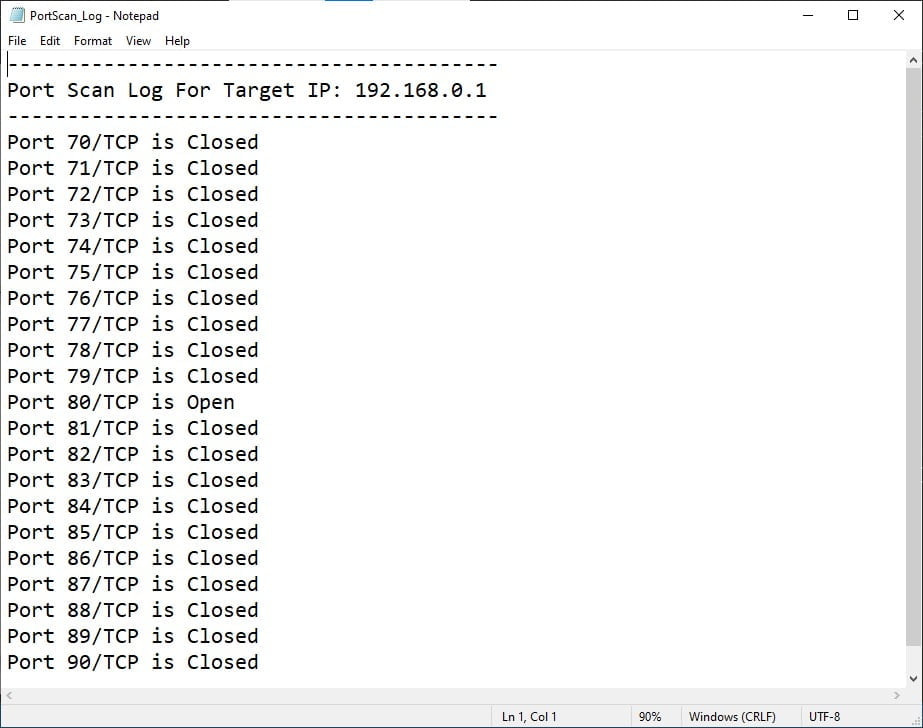
In the image below you can see the logged data has been stored in a text file. As expected, port 80 is open and the rest are closed.
Conclusion
As a professional you should always use network mappers such as Nmap, but this Blackhat python script gives us valuable insights to what is going on in the background when running network mapping tools.
Happy Hacking Folks!
Read more of our Python guides here: Python Guides
Recommendations:
Basic Security Testing with Kali Linux: https://amzn.to/3S0t7Vq
ALFA Network Wi-Fi Adapter: https://amzn.to/3QbZ6AE
This Wi-Fi adapter is essential if you are to learn Wi-Fi Hacking.
